Whenever someone start with Kubernetes, one of the first things they want some clarity on is how to create kubernetes deployment YAML files. Here we are going to cover exactly the same. While there are more methods than the ones discussed, these are the primary 3 ways I personally use. However, if you’re using some other method, do post them in comments.
Remember that two of these methods will give you YAML files which then needs some modification. One method is old school write-from-scratch method.
Create Deployment YAML Using Command
This is one of the quickest ways to create your YAML file. However, this doesn’t cover a lot of detailing. You must add required field to make it more specific to your needs.
Note: I have built my own Kubernetes cluster from scratch and running version 1.21.2 on it. If your results differ, this might be one of the reasons.
“Kubectl create deployment” is the required command.
# Get all available kubectl create deployment options
$ kubectl create deployment -h
Create a deployment with the specified name.

Aliases:
deployment, deploy

Examples:
  # Create a deployment named my-dep that runs the busybox image.
  kubectl create deployment my-dep --image=busybox

  # Create a deployment with command
  kubectl create deployment my-dep --image=busybox -- date

  # Create a deployment named my-dep that runs the nginx image with 3 replicas.
  kubectl create deployment my-dep --image=nginx --replicas=3

  # Create a deployment named my-dep that runs the busybox image and expose port 5701.
  kubectl create deployment my-dep --image=busybox --port=5701

Options:
      --allow-missing-template-keys=true: If true, ignore any errors in templates when a field or map key is missing in
the template. Only applies to golang and jsonpath output formats.
      --dry-run='none': Must be "none", "server", or "client". If client strategy, only print the object that would be
sent, without sending it. If server strategy, submit server-side request without persisting the resource.
      --field-manager='kubectl-create': Name of the manager used to track field ownership.
      --image=[]: Image names to run.
  -o, --output='': Output format. One of:
json|yaml|name|go-template|go-template-file|template|templatefile|jsonpath|jsonpath-as-json|jsonpath-file.
      --port=-1: The port that this container exposes.
  -r, --replicas=1: Number of replicas to create. Default is 1.
      --save-config=false: If true, the configuration of current object will be saved in its annotation. Otherwise, the
annotation will be unchanged. This flag is useful when you want to perform kubectl apply on this object in the future.
      --show-managed-fields=false: If true, keep the managedFields when printing objects in JSON or YAML format.
      --template='': Template string or path to template file to use when -o=go-template, -o=go-template-file. The
template format is golang templates [http://golang.org/pkg/text/template/#pkg-overview].
      --validate=true: If true, use a schema to validate the input before sending it

Usage:
  kubectl create deployment NAME --image=image -- [COMMAND] [args...] [options]

Use "kubectl options" for a list of global command-line options (applies to all commands).
One thing that we are interested is “–dry-run“. Lets use that and create deployment YAML file.
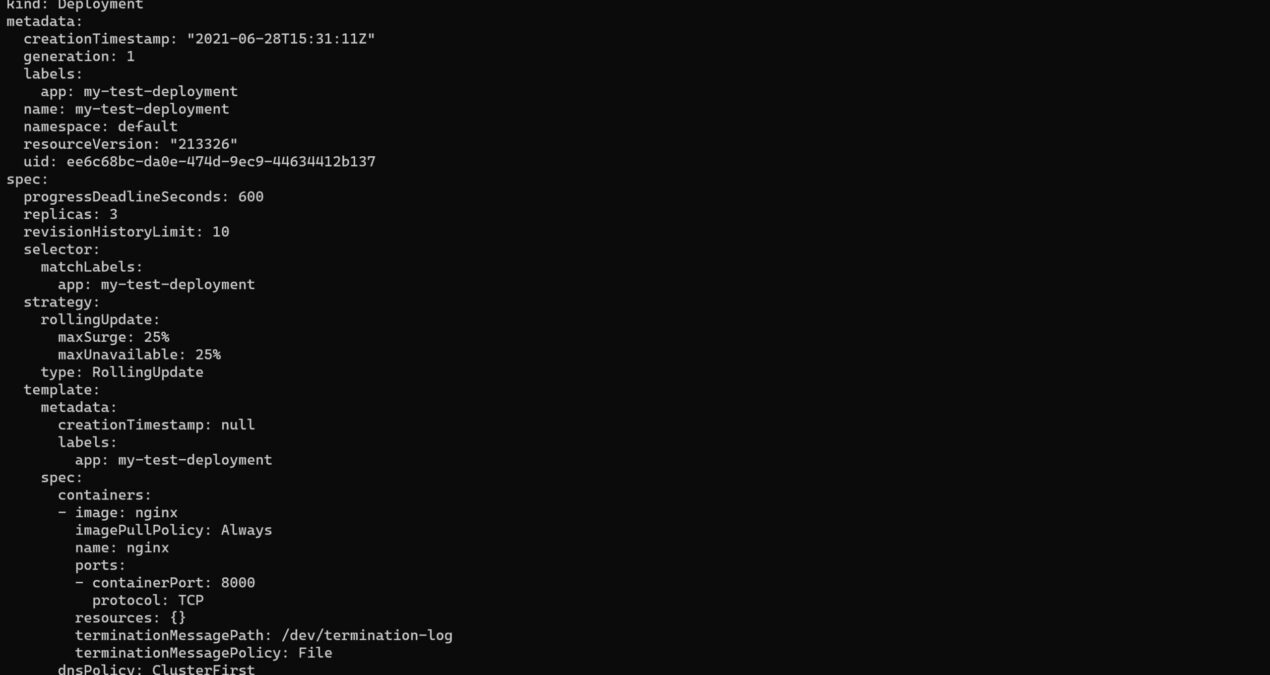
kubectl create deployment my-test-deployment --image nginx --port 8000 --replicas=3 --dry-run=client -o yamlIn this example, I am creating deployment named my-test-deployment. Pods will run containers with nginx image, listen on port 8000 and 3 replicas would be maintained. You should see and output similar to below one.
$ kubectl create deployment my-test-deployment --image nginx --port 8000 --replicas=3 --dry-run=client -o yaml
apiVersion: apps/v1
kind: Deployment
metadata:
  creationTimestamp: null
  labels:
    app: my-test-deployment
  name: my-test-deployment
spec:
  replicas: 3
  selector:
    matchLabels:
      app: my-test-deployment
  strategy: {}
  template:
    metadata:
      creationTimestamp: null
      labels:
        app: my-test-deployment
    spec:
      containers:
      - image: nginx
        name: nginx
        ports:
        - containerPort: 8000
        resources: {}
status: {}
You can write this output to a file or copy paste it into a file. There you go! You have basic template to work with. Time to add further details and deploy it.
Create Using Documentation
This is the most obvious method used by many. In Kubernetes, Kubernetes docs is your best friend. You should find sample codes in most their documents which you can then reuse.
NOTE: If you’re also focusing on CKA exam, get used to using Kubernetes docs extensively.
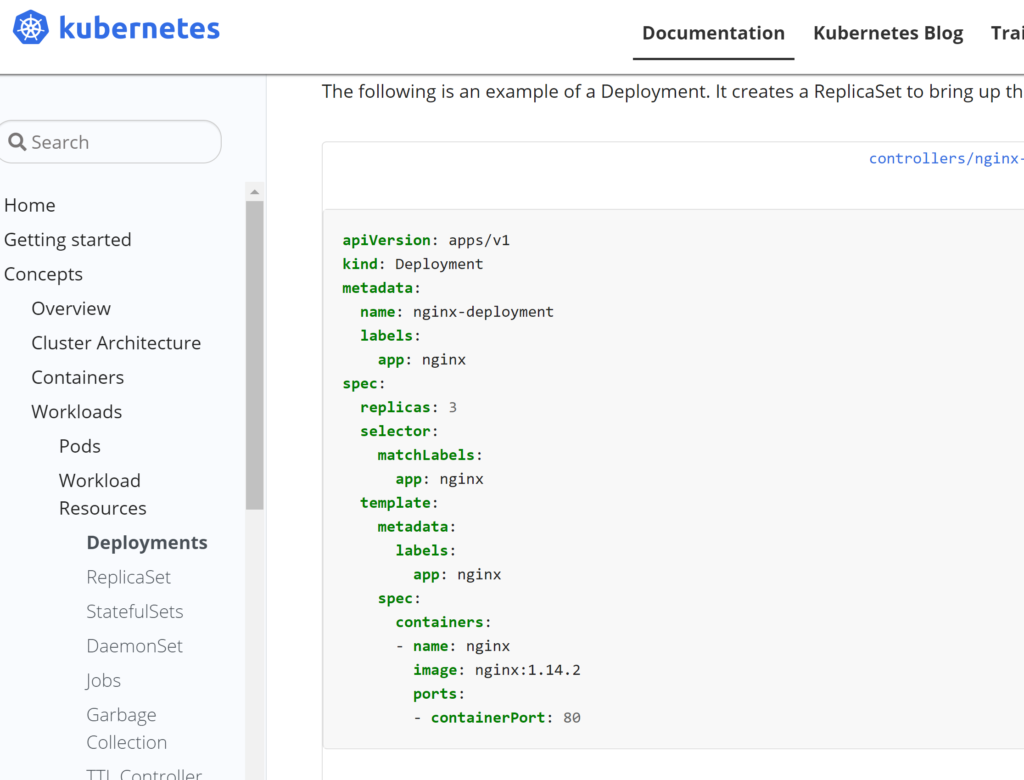
Here, we will try to create YAML for deployment object. To start, lets head to Kubernetes docs and search for deployment.
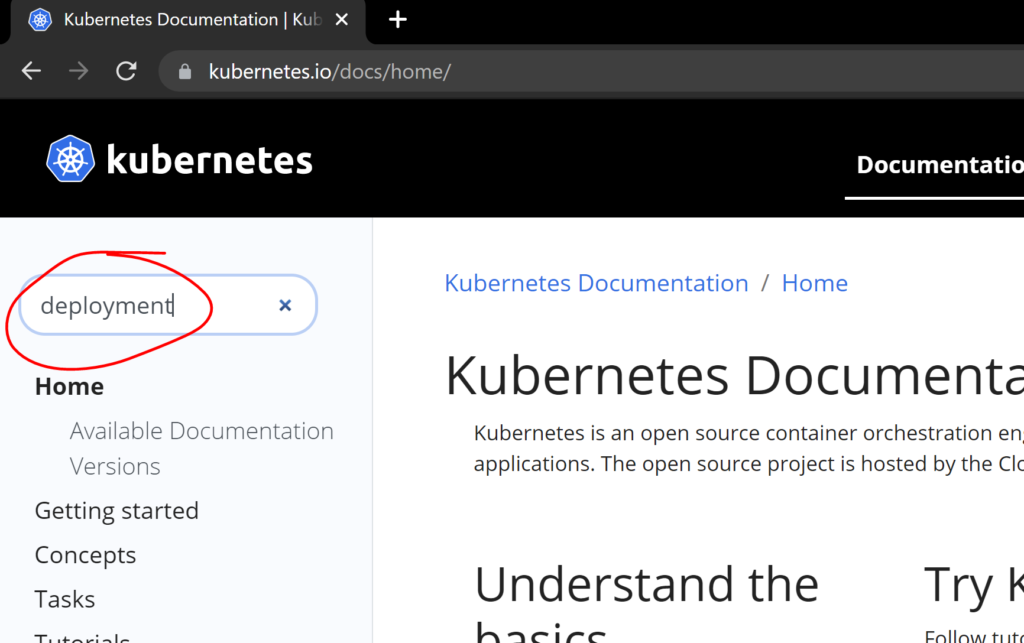
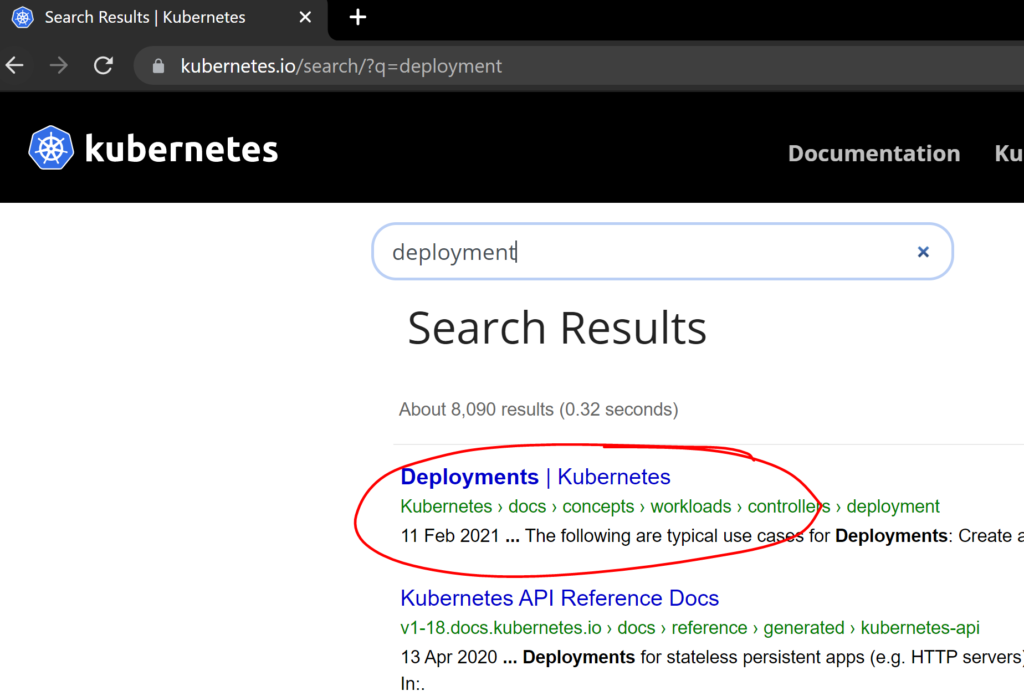
If you open relevant search result you should find sample YAML files which can be modified and used to deploy your objects.
Write YAML File From scratch
You can either write from scratch or actually use template from one of the previous methods. Now, the question is “how to know what all possible options should or could be used?”. This can be easily be resolved by using kubectl explain command.
For example:
# Get details required for Deployment YAML.
kubectl explain deployment
You should see an output similar to below one:
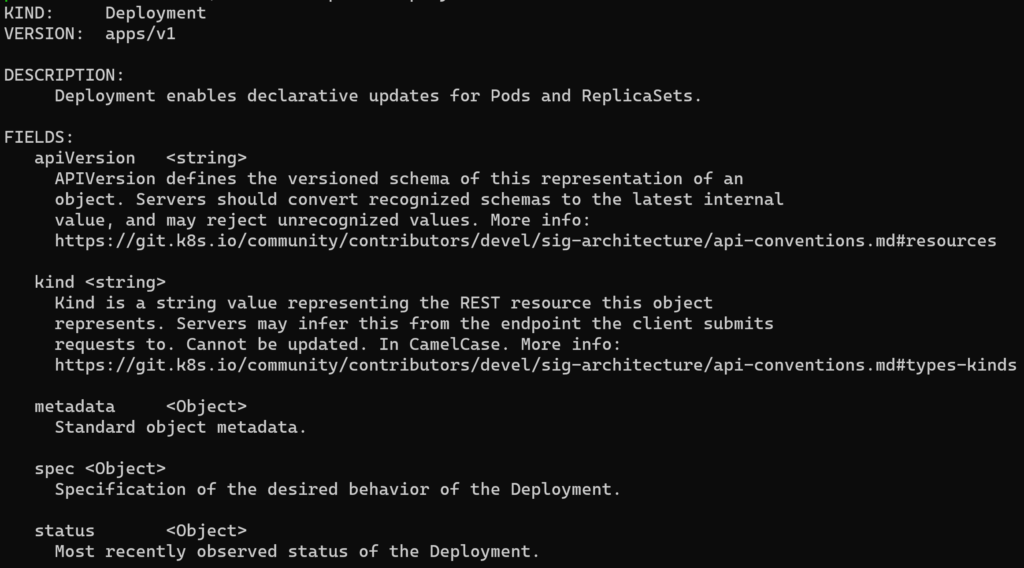
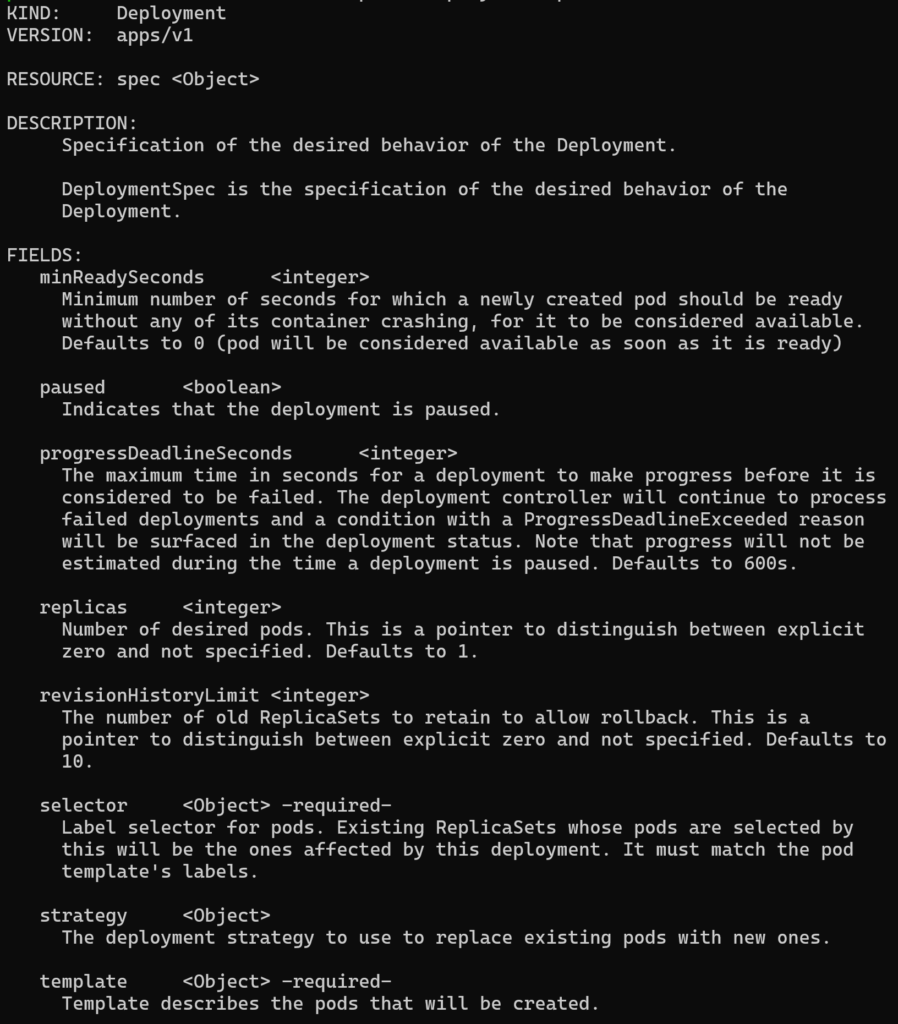
You could see various fields that should be used in the YAML. Now lets focus on spec since that’s one of the most important areas to focus. Lets see what should or could be added to spec.
# Get details of spec
kubectl explain deployment.spec
Your output would now look like:
Now template is where we actually define our pods. Now drill down a bit and get those details:
# Get details of template required by deployment
kubectl explain deployment.spec.template
You should have an idea by now. This can go on till you cover every minute detail in your YAML file. When creating complex Kubernetes deployments YAML files, I would suggest taking a better look using kubectl explain command.
By now, you should be able to figure out how to create Kubernetes deployment YAML files on your own. If you have tried anything apart from these, do shoot them in comments section.
You want to deploy these files, but don’t have a cluster of your own? Well, there are multiple cloud options available. Check my other post on deploying applications on Azure Kubernetes Service using YAML files.