If you’re starting with multiple Kubernetes of AKS projects, it might be difficult to manage multiple clusters. If you’re here then you must be looking for help on managing multiple Kubernetes cluster contexts from one single place. Here I’ll cover how to do it using Visual Studio Code.
As with most of beautiful things in Visual Studio Code, our journey starts by installing the required extension. I am using Kubernetes extension (Visual Studio Code Kubernetes Tools) by Microsoft.
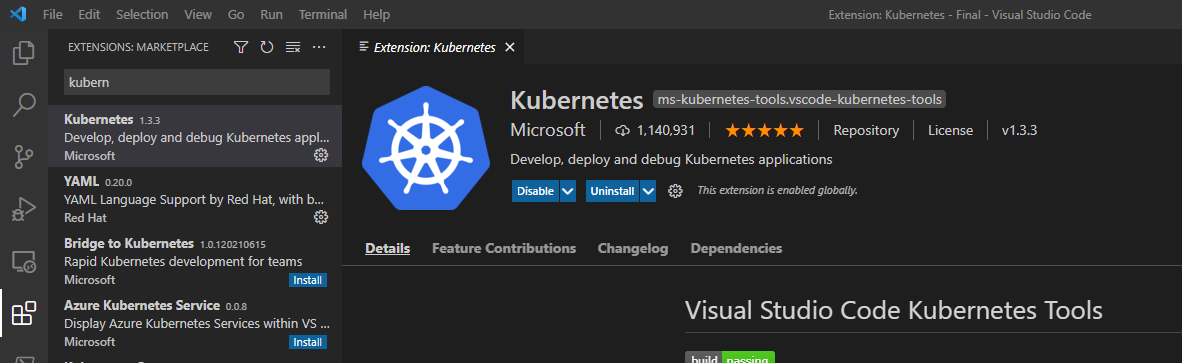
How to install Kubernetes extension in Visual Studio?
- Open Visual Studio Code.
- Browse to extensions and search “Kubernetes”. You should see an extension as shown in below screenshot.

- Click on Install. In my case, it’s already installed.
- That’s it! You’re ready to use the extension.
It’s time to add a cluster. I’ve an AKS cluster present in my subscription. I’ll run az cli command in order to login to it.
az login
az account set --subscription "<Subscription_Name>"
az aks Get-Credentials -n <AKS_Name>-g <ResourceGroup_Name> --overwrite-existing --admin
Once this is done, you should be able to see the cluster by browsing on to the Kubernetes extension. Note, that if you’re using Helm charts and have Helm repos added, it will list those as well.
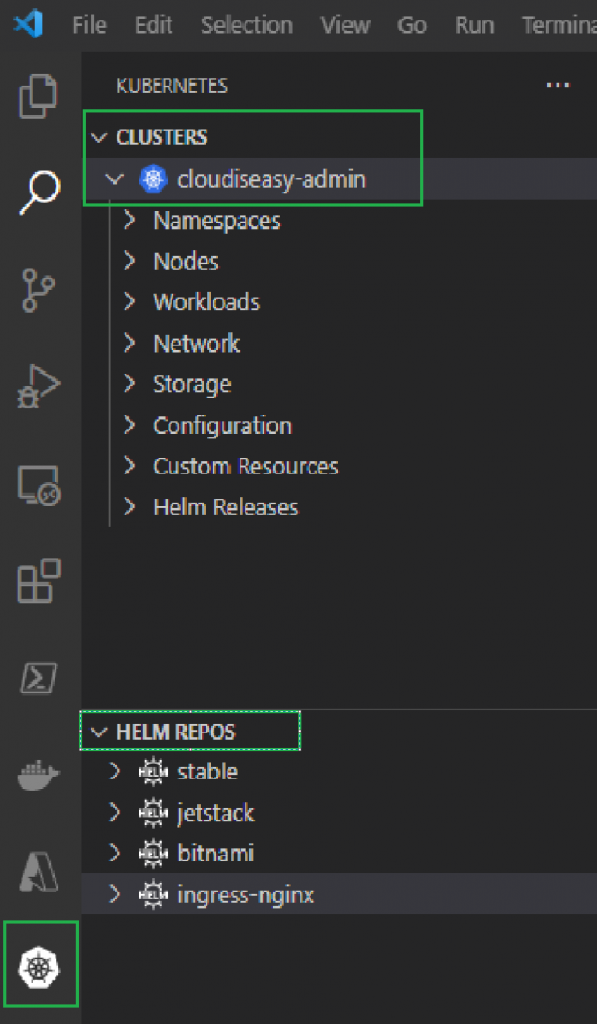
Similarly, you can add multiple AKS clusters to your environment. Post that all you need to do is right-click on the AKS cluster name (shown above) and change the context. You can also select the default context for your environment in similar way. Finally, same menu will provide the option to remove it from kubeconfig.
If you’re still facing any issues or are looking to achieve something else, drop me a comment and we can take a look into it together.